


Why CDNs matter for AI images in Shopify blogs
AI-generated images are often high-resolution and created in batches. Hosting those files on a content delivery network (CDN) reduces load on your store, speeds page rendering globally, and helps with consistent delivery to readers across regions.
In 2026, many merchants still search for terms like shopify cdn image upload ai and expect quick answers. Historically (2024–2025) the focus was raw upload speed and file size. Now, balance speed with visual fidelity, accessible metadata, and a content checklist that prevents misleading imagery.
- CDNs reduce perceived page load and serve images from nearby POPs.
- Use CDNs to separate heavy image delivery from your store’s primary server.
- Plan image sizes for hero, inline, and mobile variants before upload.
Preparing AI-generated images for Shopify CDN upload
Before you upload, verify each image’s visual accuracy and compliance. AI image tools can create plausible but incorrect details—product labels, text in images, or unrealistic scale should be checked and corrected. Keep a version that lets you restore the original if needed.
Optimize files for the web: choose formats and sizes appropriate to use (hero vs thumbnail), and create clearly named files for easy management in the Shopify admin. Don’t rely solely on automated compression: visually inspect artifacts and re-export if necessary.
- Check labels, colors, and contextual accuracy against the real product.
- Export multiple sizes: full-res for CDN original, and smaller variants for responsive use.
- Name files with SKU or post slugs for traceable asset management.
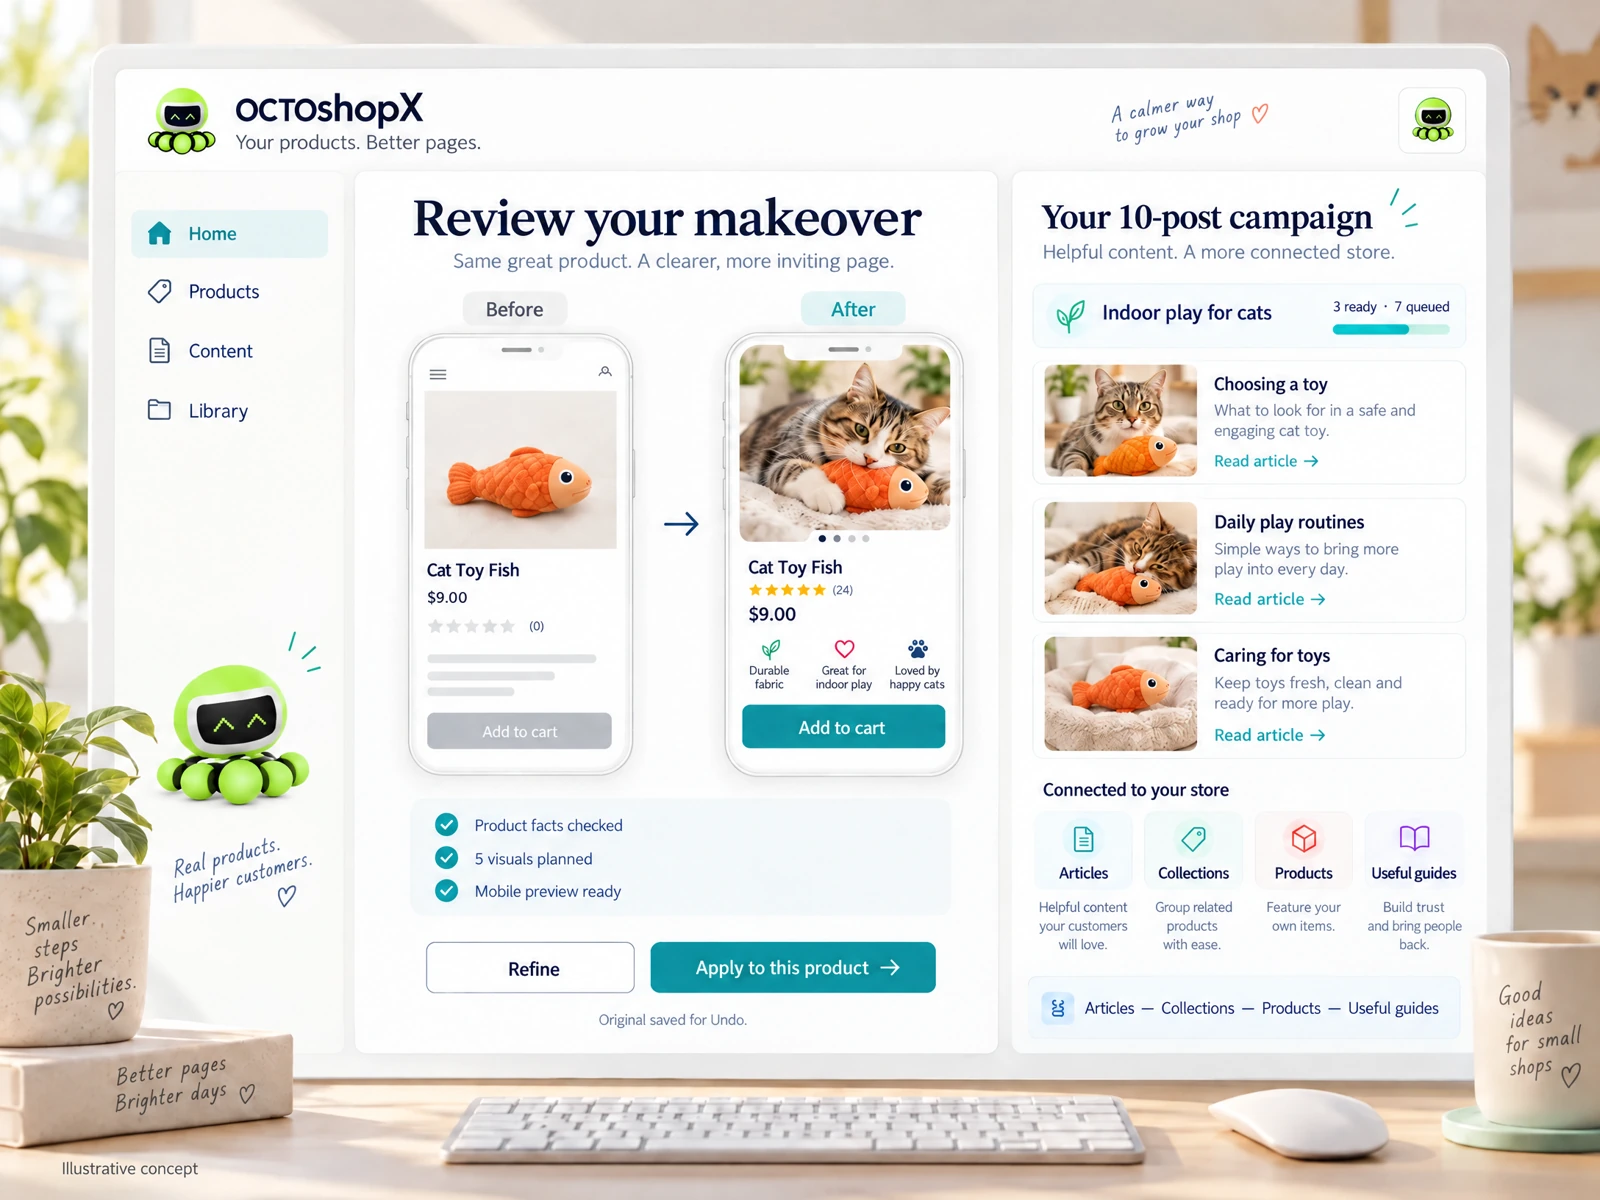
Uploading to Shopify and the CDN workflow
The basic merchant workflow: upload your prepared AI images through Shopify’s admin (Files or product/blog editors) or a compatible asset manager that writes to the store’s file library. That upload triggers the store’s delivery network to cache and serve the file via CDN endpoints.
After upload, preview the images in draft blog posts and across device sizes. Confirm that the CDN-served images retain color and composition. A generic connection to a CDN alone doesn’t guarantee faithful visuals or useful internal links—always validate the final appearance inside the published context.
- Upload through Shopify admin Files or via the blog post editor for direct attachment.
- Preview in draft mode and check mobile and desktop variants.
- Confirm internal links and alt text are intact after CDN propagation.
Accessible metadata, alt text, and SEO considerations
AI images need deliberate metadata. Add descriptive alt text that accurately summarizes the image, including product identifiers or usage context. Avoid over-optimizing with keyword stuffing; clarity and accuracy are more important for accessibility and search engines.
Use captions or image-based schema within your post when appropriate. For a shopify cdn image upload ai workflow, remember that the CDN transports the pixels but not your contextual copy—metadata must live in the blog post or in Shopify’s asset fields, so keep it consistent and review in the final published page.
- Write concise, factual alt text that aids assistive tech and SEO.
- Add captions for images that depict usage, size, or scale comparisons.
- Keep keywords natural—prioritize user clarity over density.
Read the connected-content guide or explore product and blog specimens.
Testing, previews, and rollback strategies
Preview across networks and devices before publishing: different connection speeds and caching layers can change how quickly an image appears. Use draft publishing or staged posts to verify that the CDN serves the expected file and dimension variants under real browsing conditions.
Maintain a rollback plan. Keep original images saved before edits so you can restore visuals if a published AI image causes confusion or requires correction. A system that preserves the original and enables previewing before applying changes is far more merchant-friendly than ad-hoc replacements.
- Use draft posts and private links to preview CDN-served images under realistic conditions.
- Archive original files separately to enable quick rollback.
- Check for visual artifacts after compression or format changes.
Practical examples and a lightweight workflow for merchants
Example: You produce five hero and inline AI images for a new blog on seasonal care. Export full-resolution masters, create 1200px and 600px variants, add SKU-based filenames, and write alt text that notes product name and usage. Upload via Shopify Files, attach the 1200px hero to the blog post, and use the 600px for thumbnail blocks.
Run a short pre-publish checklist: compare the CDN-served hero to the master, confirm alt text, verify mobile layout, and check internal links to related products. If anything looks off, restore the master image or swap in a corrected export before publishing. Regularly revisit older posts to refresh images and metadata when product details change.
- Export masters plus two responsive sizes, then upload and tag filenames.
- Follow a 5-point pre-publish checklist: fidelity, alt text, captions, links, mobile layout.
- Schedule periodic reviews for evergreen posts with product references.
Will uploading AI images to Shopify automatically optimize them for CDN delivery?
Uploading stores the images and enables CDN delivery, but automatic optimization varies. You should export responsive sizes, check compression artifacts, and add correct metadata. A connection to a CDN helps delivery speed but does not replace visual checks or proper sizing.
How do I handle AI images that include incorrect product text or badges?
Treat those as editorial corrections: re-export corrected images from your AI tool, keep the original as an archive, and replace the published image after previewing. Note the change in the blog revision history or internal notes so your team can track what changed and why.
Can I rely on automated alt text generated by tools?
Auto-generated alt text is a helpful starting point but often lacks precision for product context. Edit it to include accurate product names, identifiers, and usage details so assistive readers and search engines understand the image correctly.
Install OCTOshopX. Give your store one clear job.
Follow this checklist and preview workflow to keep AI-generated visuals accurate, accessible, and fast for readers. Install OCTOshopX.
A calm Shopify Product & Blog Studio: 5–10 useful visuals, connected articles and products, preview before publishing, and 1-Click Undo when needed.